As a housewife, managing a household can be a daunting task, especially when it comes to maintaining a tidy and functional kitchen. With the numerous utensils, gadgets, and appliances that come with modern cooking, it’s easy to feel overwhelmed and disorganized. In this article, we’ll explore practical tips and strategies to help you organize your kitchen utensils and gadgets, ensuring a harmonious and efficient cooking space.
Step 1: Purge and Declutter
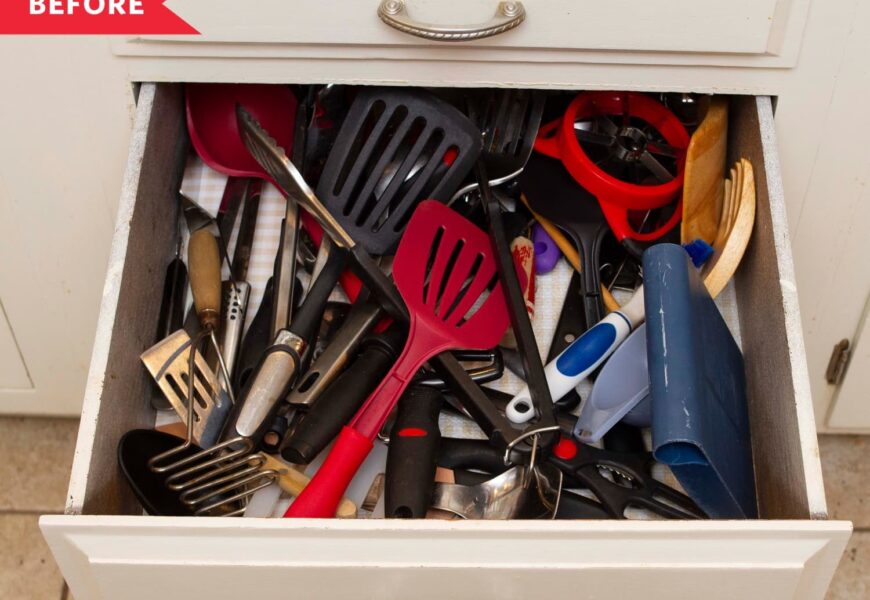
Before organizing your kitchen, it’s essential to purge and declutter your utensils and gadgets. Go through each item and ask yourself:
- When was the last time I used this item?
- Is it still in good condition?
- Can I replace it if needed?
Be ruthless – if you haven’t used it in the past year, it’s likely you won’t miss it. Donate or recycle items that are still in good condition. This will help you focus on the essentials and reduce clutter.
Step 2: Categorize and Group
Once you’ve purged your kitchen, categorize your remaining utensils and gadgets into groups. This will make it easier to find what you need when cooking. Common categories include:
- Cooking utensils (e.g., spatulas, whisks, tongs)
- Baking utensils (e.g., measuring cups, mixing bowls, pastry brushes)
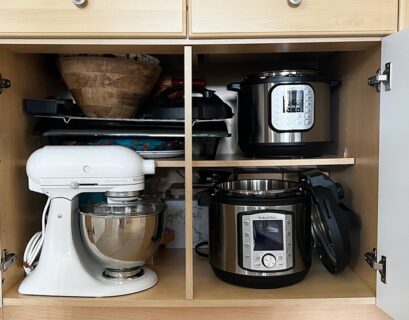
- Kitchen gadgets (e.g., stand mixer, immersion blender, food processor)
- Storage containers (e.g., Tupperware, glass jars, ziplock bags)
Step 3: Assign a Home
Assign a designated spot for each group of utensils and gadgets. This will help maintain organization and make it easier to find what you need. Consider the following:
- Store frequently used items in easy-to-reach locations.
- Less frequently used items can be stored in harder-to-reach areas or on higher shelves.
- Label each group or category to help you quickly identify what’s inside.
Step 4: Utilize Vertical Space
Maximize your kitchen’s vertical space by using wall-mounted shelves, hooks, or pegboards. This will help keep countertops clear and create a sense of openness. Consider installing:
- A pegboard for hanging utensils, pots, and pans
- A magnetic strip for storing spices, oils, or frequently used items
- A shelf for storing less frequently used items or infrequently used cookbooks
Step 5: Implement a “One In, One Out” Policy
To maintain your newly organized kitchen, adopt a “one in, one out” policy. For every new utensil or gadget you bring into your kitchen, remove or donate an old one. This will prevent clutter from building up again and ensure your kitchen remains organized and functional.
Step 6: Maintain Your Space
Set aside time each week to maintain your organized kitchen. This can be as simple as:
- Wiping down countertops and appliances
- Cleaning and sanitizing utensils and gadgets
- Restocking storage containers and shelves
- Rotating seasonal or infrequently used items
Additional Tips and Tricks
- Use baskets, bins, or containers to store small items like spices, oils, or condiments.
- Label each container or basket to help you quickly identify what’s inside.
- Consider using a utensil organizer or utensil holder to keep frequently used items within easy reach.
- Store heavy or bulky items, like pots and pans, on lower shelves or in easy-to-reach locations.
- Keep frequently used ingredients, like oils and spices, in easy-to-reach locations.
By following these steps and implementing these additional tips and tricks, you’ll be well on your way to creating a harmonious and efficient kitchen space. Remember to maintain your space regularly to ensure your kitchen remains organized and functional. Happy cooking!

